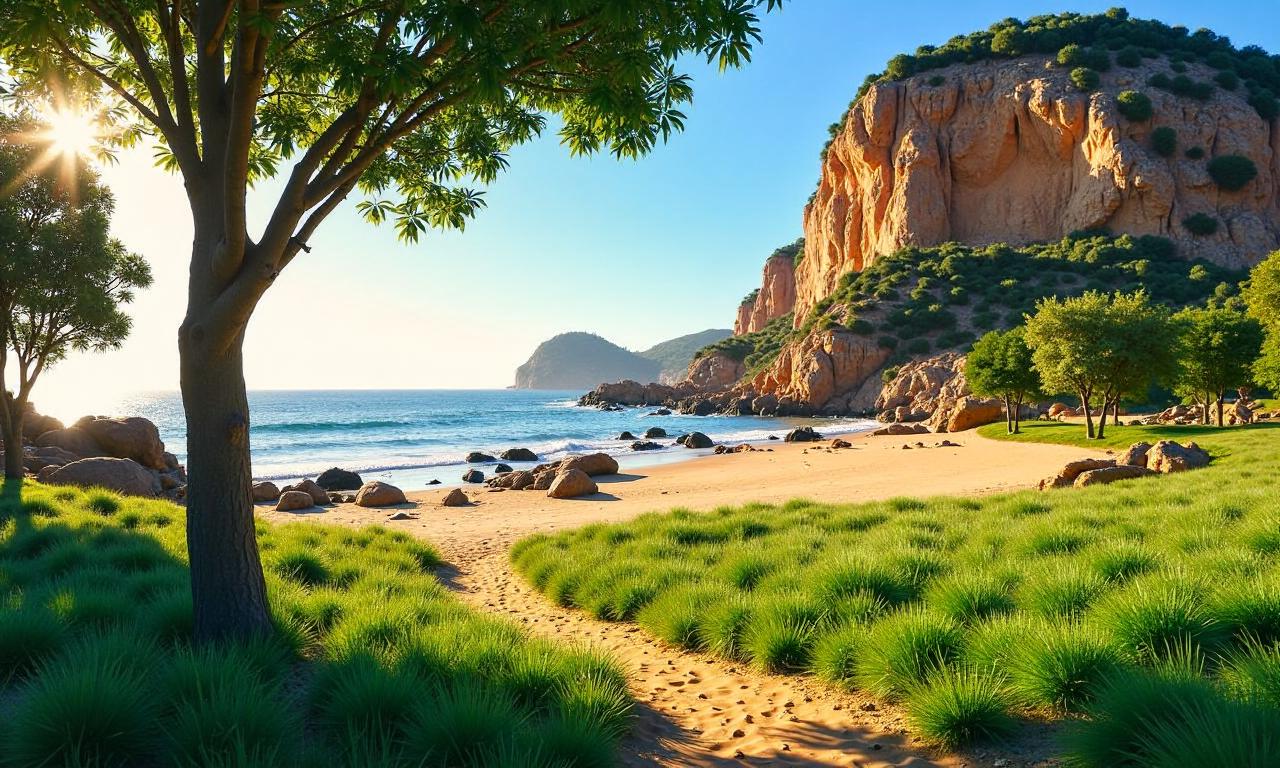
How to Edit Outdoor Photos Naturally: Secrets for Stunning Results
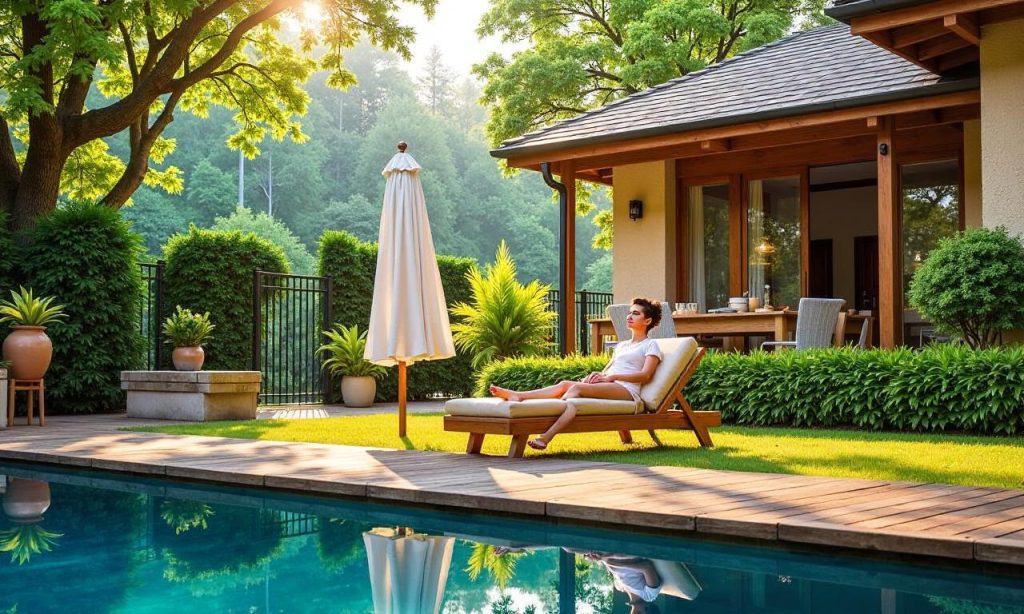
The art of editing outdoor photos naturally can transform your raw captures into visually stunning images that reflect the true essence of the scene. Whether you’re a seasoned photographer or just starting out, learning how to enhance your outdoor photos without overprocessing them is essential. Natural editing focuses on preserving the authenticity of the moment while subtly improving colors, contrast, and details. This article will guide you through the editing outdoor photos naturally process, offering practical techniques and tools to elevate your outdoor photography without losing its organic feel.
The Fundamentals of Natural Editing
Natural editing is all about working with the original elements of your photo rather than altering them drastically. Start by analyzing the lighting, colors, and composition of your outdoor shot. Avoid using heavy filters or excessive saturation, as these can make your images look artificial. Instead, aim for subtle tweaks that enhance the existing qualities. For example, adjusting the exposure slightly can bring out details in shadows or highlights without overpowering the image.
Choosing the Right Tools for Natural Editing
The tools you use play a significant role in achieving a natural look. While professional software like Adobe Lightroom offers advanced features, beginners can start with user-friendly apps such as Snapseed or VSCO. These platforms provide intuitive sliders for adjusting brightness, contrast, and clarity, which are essential for editing outdoor photos naturally. Don’t forget to use the white balance tool to correct color tones based on the lighting conditions. This ensures your photos retain their realistic hues without looking overly edited.
Enhancing Colors Without Overdoing It
Outdoor photos often benefit from color correction to match the mood of the scene. Use the color temperature and tint sliders to balance the tones, especially if the light is golden or cool. Avoid over-saturating colors; instead, increase saturation slightly to make the scene pop while keeping it realistic. For instance, a slight boost in greens can make a forest look vibrant, but a strong increase might make it look artificial. Remember, the goal is to enhance, not to alter, the natural ambiance of your shot.
Balancing Exposure and Contrast
Exposure and contrast adjustments are crucial for making your outdoor photos look dynamic. If your image is too dark, increase the exposure to reveal hidden details, but be cautious not to wash out the colors. Conversely, if it’s too bright, reduce the exposure to maintain depth. Contrast can help define textures, but overuse can create a flat look. A good approach is to use the contrast slider sparingly, ensuring the sky, foliage, and foreground remain balanced.
Sharpening and Clarity: A Delicate Touch
Sharpening and clarity are powerful tools when used correctly. Apply gentle sharpening to enhance details like textures in grass or bark, but avoid making it look too harsh. Use the clarity slider to add depth without overdoing it, especially in landscapes where subtle adjustments can make a big difference. Remember, the aim is to bring out the natural characteristics of the scene, not to create an overly polished effect.
Refining Composition and Perspective
A well-composed photo often requires minimal editing. Use the crop tool to eliminate distractions and focus on the main subject. Adjust the perspective if needed, but keep it subtle to maintain the natural feel of the image. For instance, slightly straightening the horizon can improve the overall appearance without changing the composition’s integrity. This step is particularly useful when shooting in dynamic outdoor environments where the camera angle might affect the final result.
Mastering the Art of Subtlety
One of the most important aspects of editing outdoor photos naturally is knowing when to stop. Over-editing can strip your photos of their original charm, making them look staged or artificial. Use the before-and-after comparison feature in editing apps to check your changes. If the image looks too perfect, consider reducing the intensity of your edits. Embrace the imperfections—like a slightly cloudy sky or a muted background—to keep your photos grounded in reality.
Saving the Original File: A Key Tip
Always keep a copy of your original photo before making any edits. This allows you to revert to the raw capture if needed and ensures you don’t lose any valuable details. Many photographers make the mistake of editing directly on the original file, which can limit their ability to experiment with different styles. By saving the unaltered version, you have a safety net and can explore creative adjustments without fear of ruining the shot.
Leveraging Presets for a Natural Look
Presets can be a great shortcut for achieving a natural, cohesive look. Choose presets that mimic the tones of natural light, such as warm or cool settings depending on the time of day. However, don’t rely solely on presets—customize them to suit your specific image. For example, a preset might enhance the sky too much, so adjust the exposure and contrast sliders to bring the foreground into balance. This approach ensures your photos remain authentic while still looking polished.
The Power of Patience and Practice
Like any skill, mastering editing outdoor photos naturally takes time. Experiment with different adjustments and observe how they affect the overall mood of your image. Practice on a variety of subjects, such as landscapes, portraits, or cityscapes, to develop a better understanding of what works best. Over time, you’ll learn to recognize the subtle changes that elevate your photos without making them look overprocessed.
Staying Consistent with Your Editing Style
Consistency is key to creating a signature style in your outdoor photography. Whether you prefer a high-contrast look or a soft, dreamy effect, stick to your choices across all edited images. This helps build recognition and gives your work a professional feel. Use presets or custom settings to maintain uniformity, especially when editing a series of photos taken at the same time.
Final Touches: A Recap of Key Techniques
Before finalizing your edits, take a step back and assess the image as a whole. Ensure that the colors, exposure, and details align with the original scene. Use the adjustment brush to target specific areas, like the sky or foreground, and make fine-tuned changes. Finally, add a slight vignette to draw the eye toward the center of the image, enhancing the natural depth without overpowering the composition. These small adjustments can make a significant difference in the overall impact of your outdoor photos.
FAQ Q: What are the best practices for editing outdoor photos naturally? A: Focus on subtle adjustments to colors, exposure, and contrast to maintain a realistic look.
Q: How can I fix overexposed areas in outdoor photos without losing details? A: Use the highlights tool in Lightroom to reduce brightness and bring back details.
Q: Is it possible to edit outdoor photos naturally on a smartphone? A: Yes, apps like Snapseed and Adobe Lightroom offer robust tools for editing outdoor photos naturally.
Q: What should I avoid when editing outdoor photos naturally? A: Avoid over-saturation and excessive sharpening to keep the photo looking authentic.
Q: How do I maintain natural colors in outdoor photography? A: Use the color temperature and tint sliders to balance the tones without making them artificial.
